Full Site Tutorial: Erin Smith Photography
In this tutorial, we will show you how to create a portfolio site from scratch. We’re going to call our fictional client Erin Smith, and we’ll say she’s a photographer. While creating Erin’s site, we’ll first walk you through the structuring of our content in Vae’s Backstage. Once we’ve defined our content, we’ll add some photographs, biographical information, contact information, and Erin’s resumé to the Backstage. Once we’re finished up Backstage, we’ll integrate our content into our website. Finally, we’ll show off just how easy it will be for Erin to update the content of her portfolio site.
Here are some prerequisites for this tutorial:
-
We expect that you have general HTML/CSS proficiency and familiarity with Javascript.
-
While we offer some explanation for the Vae terms we use, please follow our cross-links as they appear for a more in-depth explanation of each Structure, term, etc.
Also, you can download the site’s files if you’d like to take a look at all the code involved. We can now begin creating a portfolio site for our client, Erin Smith.
Structuring the Content
From Site tab in our site’s Backstage, we can define the Structures that will hold our site’s contents. Here’s the screen we’re presented with before we add any structures:
The first thing we’ll add is a Section called Home:
Home will hold an Image Structure and a Text Area
Structure that will appear on the initial page our
clients will see when they load up our site. We’re making Home a
Section and not a
Collection because we only want one entry for
each of these Structures. We’ll now create those structures:
Let’s add an Image Structure, which will hold an image that will be displayed on the homepage:
Now we’ll add a Text Area Structure. The Tex Area structure can hold multiple lines of text:
Our Section is nearly complete:
We’ll add one more thing: an Image Size for our Image. This will allow us to specify the dimenions that it will be cropped to:
We’ve added the Image Size and our Home Section is complete:
Next up, we’ll create some Structures to hold Erin’s photos. Erin takes
two types of photos: “Landscape” and “Architecture”, so we’ll create two
identical Collections of “Albums” for these two
categories. Each will contain an album name, album cover, and a
Collection of Images. This will keep the Backstage organized, and making
coding this website much easier. We’ll walk you through the process for
creating the Landscape Collection.
We’ll first add a new Collection:
Next we’ll add a Text Structure named Album Name,
followed by an Image Structure called Album Cover.
We’re going to give Album Cover an Image Size called thumb:
Finally, we’ll add a Sub-Collection called Images to our Collection.
This will store all the photos in the album, so it will contain an Image
Structure:
We’ve added two Image Sizes to the Image Structure in the Images
Sub-Collection:
We’ll also create a Collection called Architecture with identical
structuring:
We’d also like to add a Section to hold Erin’s contact information. This will consist of Text Structures for her email address and her phone number, with a Text Area Structure for her snail mail address:
Now it’s time to add content to our Structures. If we click on the Content Tab, we’ll see a listing of the Structures we created under the Site Tab:
If we click on Landscape, we’ll be given a form that allows us to add
the pieces of information as we specified it under the Site Tab. For
this situation, it means we can add new photo albums by clicking on the
Create New button.
Here we’ve added an album for Erin’s New Mexico photographs. If we click
the Images hyperlink, we’ll be shown a form where we can add photos to
the Images Sub-Collection:
Since we set up some Image Sizes under the Vae Tab when we created our Image Structures, Vae asks us to specify the crop sizes as we upload the photos:
Here’s what our New Mexico Images collection looks like after we’ve
added all the pictures in Erin’s album:
If we click back to the root of the Landscape Collection, we can see
that the New Mexico’s Images Collection indicates that we have added
7 Images:
Okay, we’ve added three albums to our Landscape Collection:
We’ve also done the same for our Architecture Collection:
Lastly, we’ve filled-out our Contact Information Section:
Coding the Site
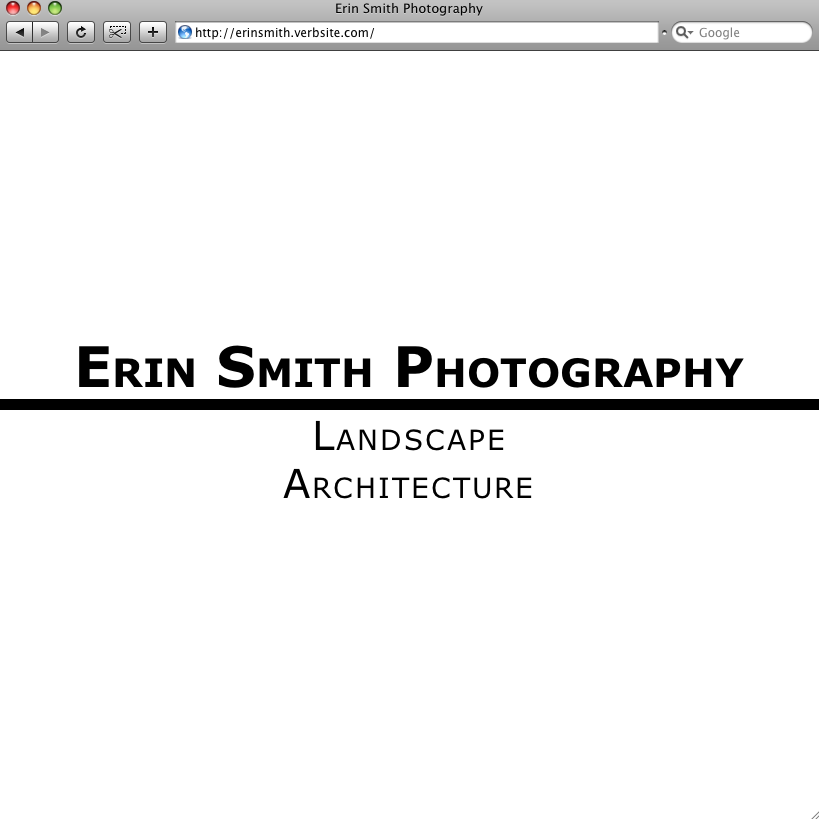
The next step for us is creating a website using this content. Using the FTP information obtained from when we first logged in (or from the FTP Subtab), we’ll code up an index page. We’ll make the index page minimalist, and link to Erin’s Landscape and Architecture photos. Here’s our code:
<div id="title">Erin Smith Photography</div>
 <a href="/landscape"><div class="section_title">Landscape</div></a>
 <a href=/architecture"><div class="section_title">Architecture</div></a>
</div>
Here’s our completed index.html page:
Our next task is to code the architecture.html and landscape.html
page. These pages will list all the albums within their respective
collections, linking to a seperate page where the user can view each
individual photo. Since these two pages will be nearly identical, we’ll
use templates so we don’t have to code the same thing
twice. We’re calling this template __choose_album_template.html, and
it’s going to contain all of the code for these two pages except the
segment that outputs the listing of our albums.
Tip
Since we’re going to use the Coda-Slider AJAX library, our template file is pretty large, so we won’t display all the code. Download the site’s files if you’d like to take a look at the file itself.
Our template file looks like a norma HTML file, except it contains a
<v:yield /> tag. This tag tells Vae where to insert the code from the
page that utilizes the template. Because we’ve handled all the
supporting code in our template file, our landscape.html and
architecture.html pages are quite sparse. Here’s the code for
landscape.html:
<v:template filename="/__choose_album_template" title="Landscape">
 <v:collection path="/landscape">
  <div class="panel" title="<v=album_name>">
   <div class="wrapper">
    <v:a path="images"><v:img path="album_cover" image_size="coverSize" /></v:a>
   </div>
  </div>
 </v:collection>
</v:template>
The <v:collection> tag loops through our Landscape Collection and
outputs the Album Name and Album Cover. The
<v:img> renders the Album Cover Image using the
coverSize Image Size we specified in the site’s Backstage. The
<v:template> is being used here to inject our code into the template
code, where we placed the <v:yield> tag.
Tip
In the previous code example we sent a parameter,
Landscape, to the template file. This is accessed in the template file with the following code:<v:text param="title" />
The landscape.html file is identical toarchitecture.html, except for
we’re iterating through the Architecture Collection instead:
<v:template filename="/__choose_album_template" title="Architecture">
<v:collection path="/architecture">
 <div class="panel" title="<v=album_name>">
  <div class="wrapper">
      <v:a path="images"><v:img path="album_cover" image_size="coverSize" /></v:a>
  </div>
 </div>
</v:collection>
</v:template>
Here’s our final result:
Because we used permalinks, you can see that we have a nice clean address in the address bar.
Our next task is to create a page for viewing the images in an album.
We’ll call this page album.html. Here’s our code for this page:
<html>
 <head>
  <meta http-equiv="Content-Type" content="text/html; charset=utf-8" />
  <link rel="stylesheet" href="/style.css" type="text/css" />
  <script type="text/javascript" src="/thickbox/jquery.js"></script>
  <script type="text/javascript" src="/thickbox/thickbox.js"></script>
  <link rel="stylesheet" href="/thickbox/thickbox.css" type="text/css" media="screen" />
  <title>Erin Smith Photography - <v:text text="album_name" /></title>
 </head>
 <body>
  <div id="album">
  <div id="content">
   <div id="top">
    <div id="sitename">Erin Smith Photography</div>
    <div id="section"><v:text text="album_name" /></div>
   </div>
<v:collection path="../images">
<div class="thumb"><a href="<v=image,large>" class="thickbox"><v:img path="image" image_size="thumb"/></a></div>
</v:collection> <div id="bottom_nav"><a href="/landscape">Landscape</a> - < href"/architecture">Architecture</v:a> - <v:a href="/contact">Contact Erin</a></div>
</div>
</div>
</body>
</html>You can see that we’re surrounding each thumbnail image with a
hyperlink. Notice also that the href attribute of these hyperlinks is
set to the path to the large version of our image, and the class
attribute is set ot “thickbox”. We’ve done this because we’re using the
Thickbox JavaScript library to make it easy for our users to view a
larger version of these images, by clicking on the thumbnail. If that
<v=> tag looks confusing, it’s because it’s a shortcut
tag, which we’re using so we can insert the path to our
image within an attribute value. Here’s this code in action:
Lastly, we’ll code up a contact page for Erin. This will display her contact information along with an AJAX contact form. Here’s the code:
<html>
<head>
<meta http-equiv="Content-Type" content="text/html; charset=utf-8" />
<link rel="stylesheet" href="/style.css" type="text/css" />
<title>Erin Smith Photography - Contact Erin</title>
</head>
<body>
<div id="contactErin">
<div id="top">
<div id="sitename">Erin Smith Photography</div>
<div id="section"><v:text param="title" /></div>
</div>
<div>
<div id="content">
<div id="contactform">
<v:formmail to="[email protected]" redirect="/confirmed.html" ajax="emailSent">
<h1>Contact Erin</h1>
<div id="snailMail"><v:text path="/contact_info/snail_mail_address" /></div>
<v:text_area value="Your Name" name="Name" rows="1" cols="40" />
<v:text_area name="Comments" value="What's up?" rows="5" cols="40"/>
<input type="submit" />
</v:formmail>
<div id="contactInfo">
<v:section path="/contact_info">
<div class="content">Email: <a href="mailto:<v=email_address>"><v:text path="/contact_info/email_address" /></a> </div>
<div class="content">Phone: <v:text path="phone_number" /></div>
</v:section>
<div id="emailSent"></div>
</div>
</div>
    <div id="bottom_nav"><a href="/landscape">Landscape</a> - < href"/architecture">Architecture</v:a> - <v:a href="/contact">Contact Erin</a></div>
   </div>
    </div>
 </body>
</html>The new tag here is <v:formmail>. It renders a form that when
submitted, sends an email to the address specified in the to
attribute. We’re utilizing Vae’s AJAX attribute in the
formmail tag to asychronously display our confirmation message in the
emailSent div, instead of redirecting to another page. If we removed
the AJAX attribute, our users would be ridirected to confirmation.html
(as specified in the redirect attribute). Instead, the output of
confirmation.html is displayed in the div we specified with the ajax
attribute. Our confirmation.html page, in it’s entirety, is:
Email sent.
Here’s the contact.html page before and after an email is sent:
Okay, and our site is complete! Be sure to check out the documentation for these tags if anything is unclear. You can also contact a Vae Account Manager, who will be happy to walk you through any part of this tutorial.