All Customers (list view)
By default, the Customers tab will show you a list of all customers:
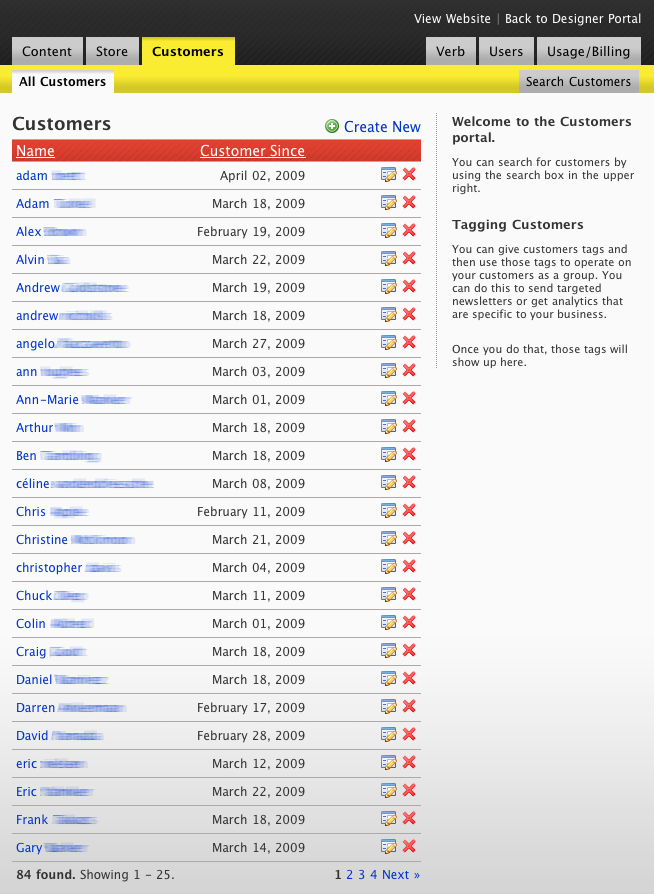
To view a customer, click on their name.
Adding a Customer
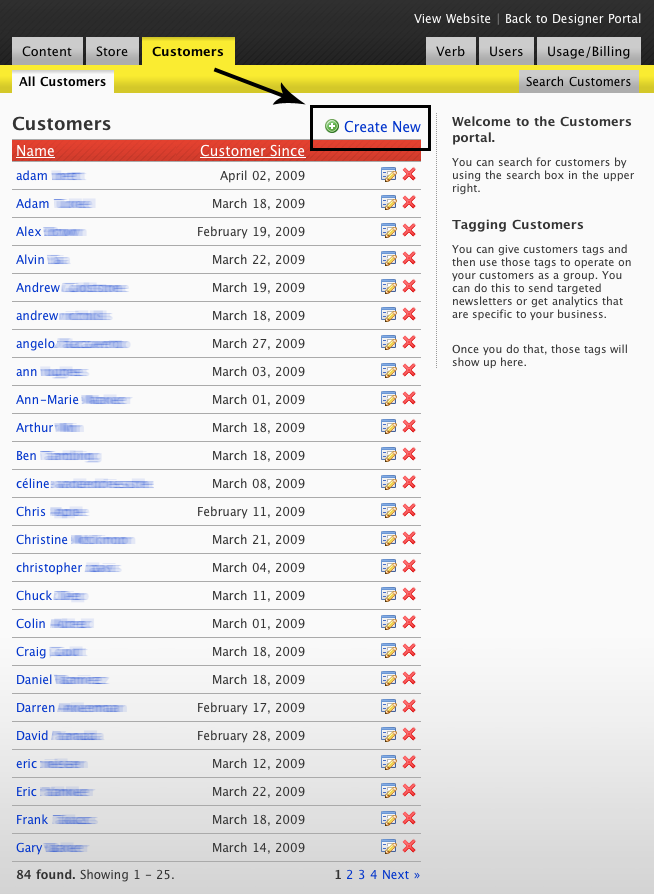
To add a new customer to the website account, click the link at the top right corner of the list. An form will be displayed with the following fields:
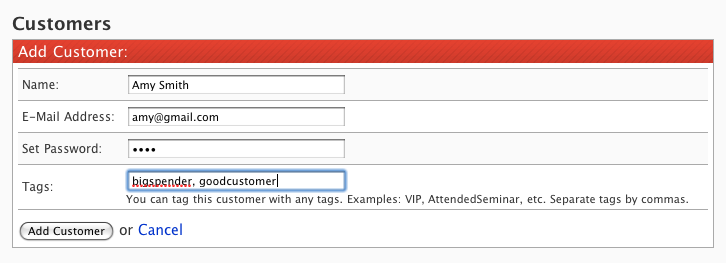
Clicking the button will reveal this form:
-
- Full name of the customer.
-
- E-Mail address of the customer. For stores that implement a login feature, the E-Mail address is used as the username for logging in.
-
and - Choose a password for this user. For stores that implement a login feature, this password is used to authenticate customers. You may also leave this field blank.
-
- Specify a list of tags separated by commas. You may tag customers however you'd like, for example: VIP, AttendedSeminar, etc. On the Newsletter tab, newslettters can be sent to groups targeted by tag.
Click the button to complete the process of adding the customer.
Editing a Customer
To edit a customer, simply click the icon next to that customer in the list. This will open an form with the same fields as above:
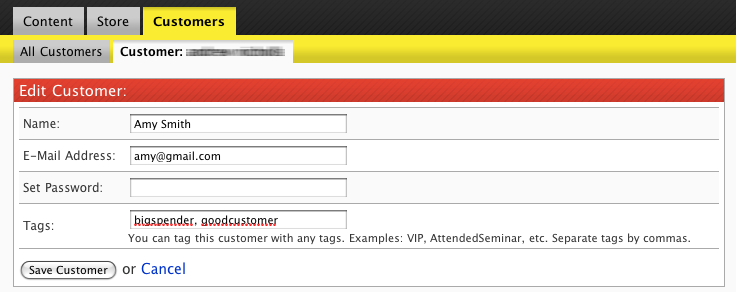
Click the button to complete the process of editing the customer.
Removing a Customer
To remove a customer, simply click the red icon next to that customer in the list:
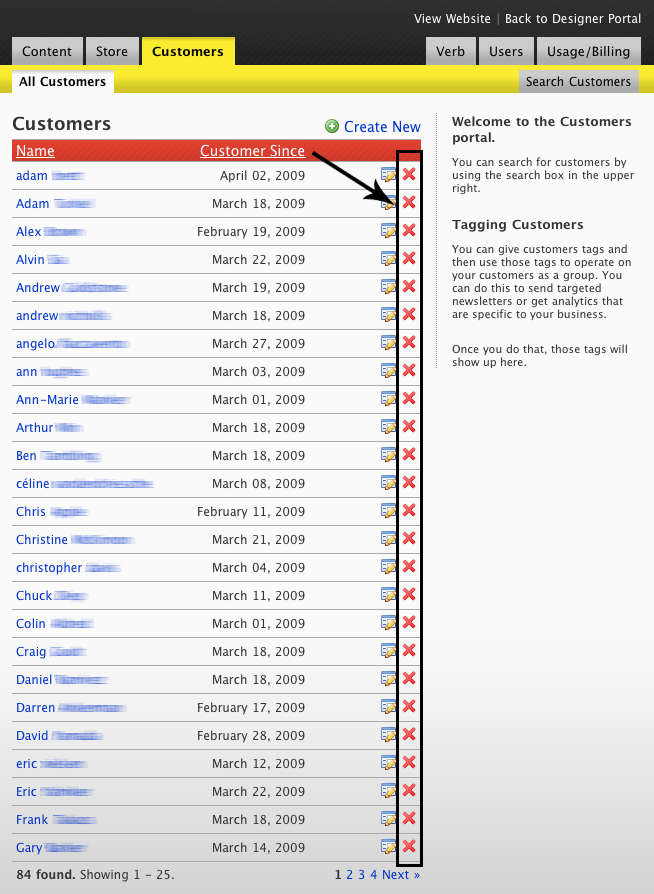
The customer will be deactivated immediately. After you delete a customer, they will no longer be able to log in on your website. If the customer is currently logged in, they will not be kicked out of their current session.